Art and Art History Collection (Saskia)
The Art and Art History Collection from Saskia Ltd., Cultural Documentation features a wide range of digital images with an emphasis on the history of Western art. There are 3,645 images in this collection. Image sets include: The Dresden Collection, Brueghel and Rubens, Ancient Greek Art (Architecture and Sculpture), Ancient Art (Minoan and Roman), Roman Art, Michelangelo, Italian Renaissance, Realism, Impressionism, Post-Impressionism, and Contemporary Architecture. Images from art history textbooks include: Gardner, Expanded Gardner, Stokstad, Gilbert, Hartt, Cunningham, and Reich.
Access note: Only thumbnail images and descriptive information are available to non-USF users. Full access to this collection is available only to authorized users on the USF network on campus or via VPN. For more information or to report technical issues please contact us.
-
St. Sebastian (detail) Saint Sabastian
Unknown
This is a late work of Antonello showing Venetian influences.
-
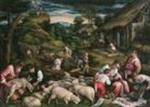
Summer: Shearing of Sheep, with Abraham and Isaac
Unknown
Francesco Bassano the Younger (originally Francesco Giambattista da Ponte), Italian painter, eldest son, pupil and employee of Jacopo Bassano. His first independent work is from 1574. He ran the Venetian branch of the workshop until committing suicide a few months after his father's death. Then Leandro took over the workshop.
-
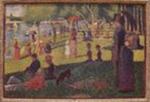
Sunday Afternoon on La Grande Jatte A Sunday Afternoon on the Grande Jatte
Unknown
Using newly discovered optical and color theories, Seurat rendered his subject by placing tiny, precise brush strokes of different colors close to one another so that they blend at a distance. Art critics subsequently named this technique Divisionism, or Pointillism. The artist visited La Grande Jatte many times, making drawings and more than 30 oil sketches to prepare for the final work. With his precise method and technique, Seurat conceived of his painting as a reform of Impressionism. The precise contours, geometric shapes, and measured proportions and distances in Seurat
-
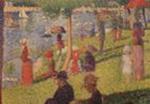
Sunday Afternoon on La Grande Jatte A Sunday Afternoon on the Grande Jatte
Unknown
"Seurat's Grande Jatte is one of those rare works of art that stand alone; its transcendence is instinctively recognized by everyone. What makes this transcendence so mysterious is that the theme of the work is not some profound emotion or momentous event, but the most banal of workaday scenes: Parisians enjoying an afternoon in a local park. Yet we never seem to fathom its elusive power. Stranger still, when he painted it, Seurat was a mere 25 (with only seven more years to live), a young man with a scientific theory to prove; this is hardly the recipe for success. His theory was optical: the conviction that painting in dots, known as pointillism or divisionism, would produce a brighter color than painting in strokes.
-
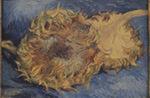
Sunflowers
Unknown
Van Gogh painted four still lifes of sunflowers in Paris in late summer 1887. There is a small oil sketch for this canvas (Rijksmuseum Vincent van Gogh, Amsterdam) as well as another painting of two sunflowers also signed and dated 1887 (Kunstmuseum Bern), and a larger canvas showing four sunflower heads (Rijksmuseum Kr
-
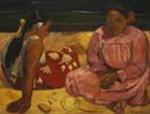
Tahitian Women at the Beach
Unknown
Gauguin's art has all the appearance of a flight from civilization, of a search for new ways of life, more primitive, more real and more sincere. His break away from a solid middle-class world, abandoning family, children and job, his refusal to accept easy glory and easy gain are the best-known aspects of Gauguin's fascinating life and personality. This picture, also known as Two women on the beach, was painted in 1891, shortly after Gauguin's arrival in Tahiti. During his first stay there (he was to leave in 1893, only to return in 1895 and remain until his death), Gauguin discovered primitive art, with its flat forms and the violent colors belonging to an untamed nature.
-
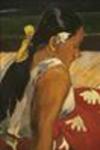
Tahitian Women at the Beach (detail)
Unknown
Gauguin's art has all the appearance of a flight from civilization, of a search for new ways of life, more primitive, more real and more sincere. His break away from a solid middle-class world, abandoning family, children and job, his refusal to accept easy glory and easy gain are the best-known aspects of Gauguin's fascinating life and personality. This picture, also known as Two women on the beach, was painted in 1891, shortly after Gauguin's arrival in Tahiti. During his first stay there (he was to leave in 1893, only to return in 1895 and remain until his death), Gauguin discovered primitive art, with its flat forms and the violent colors belonging to an untamed nature.
-
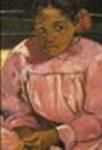
Tahitian Women (On the Beach) (detail
Unknown
Gauguin's art has all the appearance of a flight from civilisation, of a search for new ways of life, more primitive, more real and more sincere. His break away from a solid middle-class world, abandoning family, children and job, his refusal to accept easy glory and easy gain are the best-known aspects of Gauguin's fascinating life and personality. This picture, also known as Two women on the beach, was painted in 1891, shortly after Gauguin's arrival in Tahiti. During his first stay there (he was to leave in 1893, only to return in 1895 and remain until his death), Gauguin discovered primitive art, with its flat forms and the violent colors belonging to an untamed nature.
-
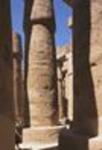
Temple of Amun-Ra, Hypostyle Hall, A
Unknown
Hypostyle Hall, characteristic closed-bud column capital & relief carving
-
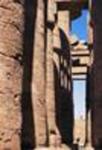
Temple of Amun-Ra, Hypostyle Hall, D
Unknown
Hypostyle Hall, toward open and closed papyrus blossom columns
-
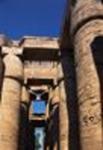
Temple of Amun-Ra, Hypostyle Hall, F
Unknown
Hypostyle Hall, diagonal view upwards with closed & open papyrus capitals with clerestory window
-
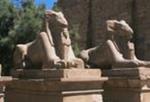
Temple of Amun-Ra, most important pharaonic temple complex, long building history, with high points under Amenhotep III, ca.1375 BC and Rameses II, ca.1250 BC
Unknown
Ram-headed Sphinxes of the Processional Way leading into Karnark from W
-
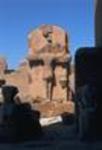
Temple of Amun-Ra, most important pharaonic temple complex, long building history, with high points under Amenhotep III, ca.1375 BC and Rameses II, ca.1250 BC
Unknown
Amun-Ra (1 of 3 statues originally) erected by Thutmosis III. Converted by Early Christians to a Crucifix
-
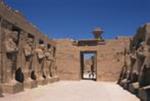
Temple of Amun-Ra, most important pharaonic temple complex, long building history, with high points under Amenhotep III, ca.1375 BC and Rameses II, ca.1250 BC
Unknown
Hall with Osiris pier figures, Temple of Rameses III, off the Great Court
-
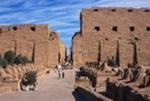
Temple of Amun-Ra, most important pharaonic temple complex, long building history, with high points under Amenhotep III, ca.1375 BC and Rameses II, ca.1250 BC
Unknown
Processional Way approaching the First Pylon, with Avenue of Ram-Headed Sphinxes
-
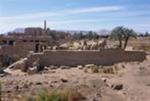
Temple of Amun-Ra, most important pharaonic temple complex, long building history, with high points under Amenhotep III, ca.1375 BC and Rameses II, ca.1250 BC
Unknown
Overview West, Temple of Amun Ra at Karnak
-
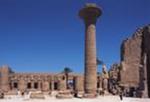
Temple of Amun-Ra, most important pharaonic temple complex, long building history, with high points under Amenhotep III, ca.1375 BC and Rameses II, ca.1250 BC
Unknown
Karnak, general transverse view of Great Court, with huge column and Rameses II
-
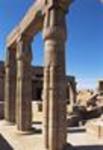
Temple of Amun-Ra, most important pharaonic temple complex, long building history, with high points under Amenhotep III, ca.1375 BC and Rameses II, ca.1250 BC
Unknown
Bundled-Papyrus columns of Thutmosis III. Walls depict birds, plants from conquered countries, e.g. eggplant, ostrich, pomegranate & cattle
-
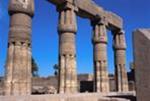
Temple of Amun-Ra, most important pharaonic temple complex, long building history, with high points under Amenhotep III, ca.1375 BC and Rameses II, ca.1250 BC
Unknown
Bundled-Papyrus columns of Thutmosis III, Garden of Amun Ra
-
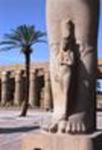
Temple of Amun-Ra, most important pharaonic temple complex, long building history, with high points under Amenhotep III, ca.1375 BC and Rameses II, ca.1250 BC
Unknown
Anksh ba Amon, daughter/wife of Rameses II, at his feet, Great Court
-
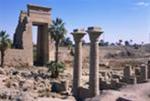
Temple of Amun-Ra, most important pharaonic temple complex, long building history, with high points under Amenhotep III, ca.1375 BC and Rameses II, ca.1250 BC
Unknown
Terminating East Gateway of Karnak Temple complex
-
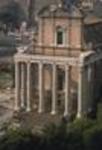
Temple of Antoninus and Faustina and Church of S. Lorenzo in Miranda
Unknown
General view from above toward northeast
-
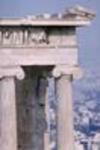
Temple of Athena Nike, B
Unknown
Detail of northeast corner, detail of columns capitals, and frieze, from east
-
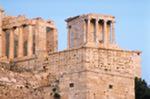
Temple of Athena Nike, D
Unknown
Total view of rear, with portion of Propylaea on the left, seen from Areopagus rock, evening light
-
Temple of Castor and Pollux and Arch of Septimius Severus
Unknown
General view from above toward northwest
-
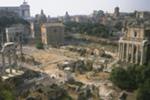
Temple of Castor and Pollux, Curia, Temple of Vesta, Temple of Antoninus and Faustina
Unknown
General view from above toward N
-
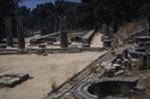
Temple of Hera
Libon of Elis Architect, Paeonium (Designer), and Alcamanes (Designer)
Western view from terrace of Treasuries toward Temple of Hera
-
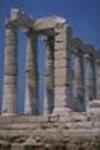
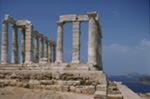
Temple of Poseidon, B
Unknown
Southern view of colonnade and the Antis of the Portico, from the east view
-
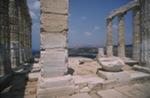
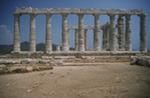
Temple of Poseidon, C
Unknown
Close detail of the Portico, with south and north colonnades visible, east view
-
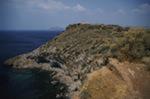
Temple of Poseidon, View of Cape Sounion
Unknown
View of Cape Sounion from eastern view, with Doric Temple of Poseidon settled atop its raised portion
-
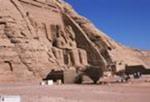
Temple of Ra-Harakhte, Exterior, B
Unknown
View of rock-cut façade from southeast, moved to higher ground in 1960s
-
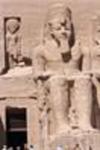
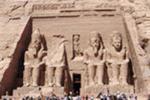
Temple of Ra-Harakhte, Exterior, C
Unknown
statue of Ra-Harakhte in alcove above the Portal entrance & colossal Rameses II on the right, from front center
-
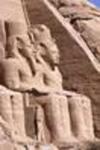
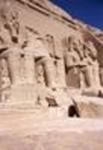
Temple of Ra-Harakhte, Exterior, F
Unknown
Quasi-profile view of two colossal statues from southeast
-
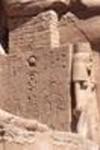
Temple of Ra-Harakhte, Exterior, Hieroglyphic Inscriptions
Unknown
Relief sculpture of hieroglyphic inscriptions on the left and statue of Maat, goddess of Justice, on the right
-
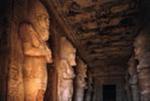
Temple of Ra-Harakhte, Interior, A
Unknown
Interior of Temple of Ramses II with colossal Osiris pillars
-
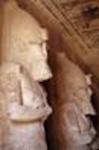
Temple of Ra-Harakhte, Interior, B
Unknown
Interior detail of Osirid pillars of Rameses II with crown of Upper Egypt
-
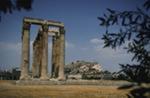
Temple of the Olympian Zeus, A
Antistatis (Architect), Kallaischros (Architect), Antimachides (Architect), and Phormos (Architect)
General view from east, with Acropolis in distance to the right
-
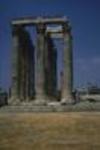
Temple of the Olympian Zeus, B
Antistatis (Architect), Kallaischros (Architect), Antimachides (Architect), and Phormos (Architect)
Closer view of columns from east view
-
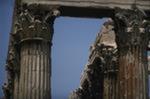
Temple of the Olympian Zeus, C
Antistatis (Architect), Kallaischros (Architect), Antimachides (Architect), and Phormos (Architect)
Detail of Corinthian column capitals and acanthus leaves, from east view
-
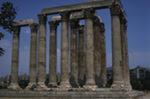
Temple of the Olympian Zeus, D
Antistatis (Architect), Kallaischros (Architect), Antimachides (Architect), and Phormos (Architect)
Group of standing columns, seen from South view
-
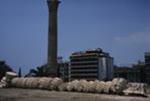
Temple of the Olympian Zeus, E
Antistatis (Architect), Kallaischros (Architect), Antimachides (Architect), and Phormos (Architect)
One standing and one fallen column near West end of complex
-
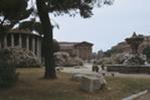
Temple of Vesta (left foreground), Temple of Fortuna Virilis (central background), and Baroque Fountain (1715) by Carlo Francesco Bizzaccheri and Francesco Moratti (right)
Unknown
Overall view of structures in their setting
-
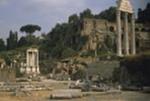
Temple of Vesta, Temple of Castor and Pollux, and Palatine Hill
Unknown
Overall view east-southeast from Basilica Julia
-
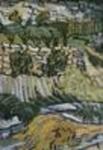
Thatch at Montcel Thatches of Cordeville with Auvers-on-Oise
Unknown
Van Gogh strove to respect the external, visual aspect of a figure or landscape but found himself unable to suppress his own feelings about the subject, which found expression in emphatic contours and heightened effects of color. Once hesitant to diverge from the traditional techniques of painting he worked so hard to master, he now gave free rein to his individuality and began squeezing his tubes of oil paint directly on the canvas. Van Gogh's style was spontaneous and instinctive, for he worked with great speed and intensity, determined to capture an effect or a mood while it possessed him.
-
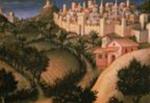
The Adoration of the Magi (detail)
Unknown
Gentile da Fabriano's painting is not a geometrically constructed composition. It should be read as if it were the text of a tale, beginning at the top left corner. If we follow the King;s course among sloping hills and cultivated fields we can see how they march into Jerusalem.
-
The Adoration of the Magi (detail)
Unknown
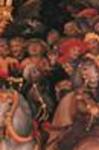
Now we can discern the faces too, and observe the smallest details of garments, arms and harness. Then the crowd, which can pride itself on hunters, noble chargers and exotic animals too, stops at the right-hand corner of the foreground, having reached its destination.
-
The Adoration of the Magi (detail)
Unknown
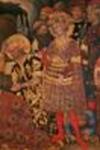
The banker Palla Strozzi, who commissioned the work, had himself portrayed with his son immediately behind the youngest king. It is not just the magnificent decoration of the work and the exotic animals which refer to the courtly culture; the kneeling squire fastening the spur of the king presenting his gift is also a chivalrous motif.
-
The Adoration of the Magi (detail)
Unknown
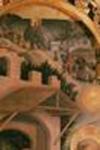
Gentile da Fabriano's painting is not a geometrically constructed composition. It should be read as if it were the text of a tale, beginning at the top left corner, where the three Magi, meeting at the seaside, notice the star they have to follow. If we follow their course among sloping hills and cultivated fields we can see how they march into Jerusalem under the frame of the central arch, while in the lunette on the right we can see them departing.
-
The Adoration of the Magi (detail)
Unknown
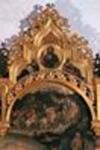
Palla di Noferi Strozzi commissioned this famous altarpiece, signed and dated 1423 on the frame, for his family's chapel in the church of Santa Trinita in Florence. Wealth and culture of the donor are reflected in the lavish use of gold and in the pomp of the Magi procession, including also exotic animals as leopards and monkeys. If in this picture clearly emerges the persistence of International Gothic at the beginning of 15th Century, in the meanwhile the panel is ahead of its time showing in the predella's scenes Nativity, Rest during the Flight into Egypt and Presentation to the Temple) one of the basic innovations of Renaissance art: the blue sky at the place of the traditional gold background.
-
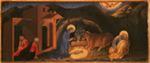
The Adoration of the Magi (detail)
Unknown
If in this picture clearly emerges the persistence of International Gothic at the beginning of 15th Century, in the meanwhile the panel is ahead of its time showing in the predella's scenes Nativity.
-
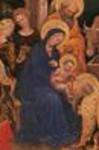
The Adoration of the Magi (detail)
Unknown
The banker Palla Strozzi, who commissioned the work, had himself portrayed with his son immediately behind the youngest king. It is not just the magnificent decoration of the work and the exotic animals which refer to the courtly culture; the kneeling squire fastening the spur of the king presenting his gift is also a chivalrous motif.
-
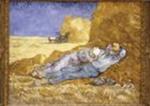
The Afternoon Nap (After Millet)
Unknown
In 1890, Vincent exhibited with the Independants in Paris. During that same year, he exhibited with Les Vingt in Brussels, where Anna Boch, a fellow painter and friend, bought the only painting he ever sold in his lifetime. He moved to Auvers, where he was treated by his friend, Doctor Gachet. Unfortunately, Vincent's mental state was beyond help. Out of desperation and frustration, he fatally shot himself in 1890.
-
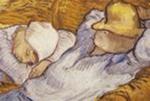
The Afternoon Nap (After Millet))
Unknown
In 1890, Vincent exhibited with the Independants in Paris. During that same year, he exhibited with Les Vingt in Brussels, where Anna Boch, a fellow painter and friend, bought the only painting he ever sold in his lifetime. He moved to Auvers, where he was treated by his friend, Doctor Gachet. Unfortunately, Vincent's mental state was beyond help. Out of desperation and frustration, he fatally shot himself in 1890.
-
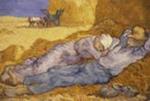
The Afternoon Nap (After Millet))
Unknown
In 1890, Vincent exhibited with the Independants in Paris. During that same year, he exhibited with Les Vingt in Brussels, where Anna Boch, a fellow painter and friend, bought the only painting he ever sold in his lifetime. He moved to Auvers, where he was treated by his friend, Doctor Gachet. Unfortunately, Vincent's mental state was beyond help. Out of desperation and frustration, he fatally shot himself in 1890.